

7 Dirt Bike Body Position Drills That Work
A rider can have a good throttle hand and still feel out of control if their body is working against the bike. Dirt bike body position drills build the habits that keep your weight where it needs to be when the track gets rough, the braking bumps deepen, or a corner comes up fast. For beginners, these drills create a safer starting point. For developing riders, they expose the small errors that cost traction, speed, and confidence.
The goal is not to freeze in one textbook stance. Good riding position changes with the terrain, but the fundamentals stay consistent: stay balanced over the foot pegs, keep a light grip on the bars, look ahead, and let the motorcycle move underneath you.
Set Up Before You Start Drilling
Use full riding gear every time: helmet, goggles, boots, gloves, knee protection, and appropriate riding clothes. Choose a flat, open practice area or a track section with room to roll at low speed. Start with a bike that fits you. If you cannot comfortably reach the controls or stand on the pegs without feeling stretched out, it will be harder to build the right movements.
Set your levers so you can cover the clutch and front brake while standing without rolling your wrists down. Your handlebar position matters too. Bars that are too far forward or too far back can force poor posture before the bike even moves.
Begin each drill at a pace where you can think clearly. Speed hides mistakes for a moment. Slow, repeatable practice exposes them and gives you a chance to fix them.
1. Neutral Standing Position Drill
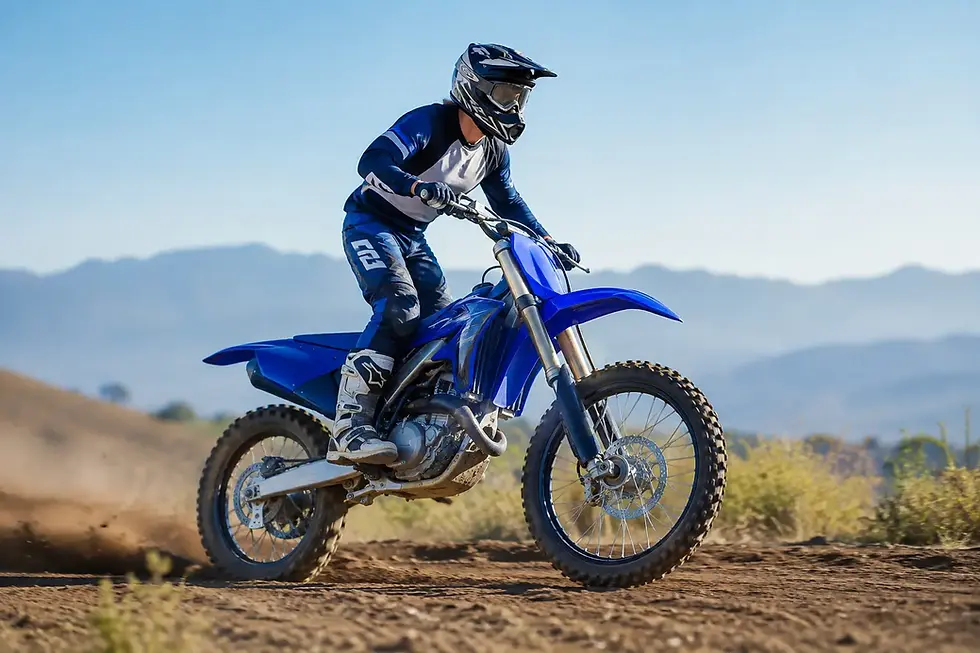
The neutral standing position is your home base for rough terrain, acceleration, braking transitions, and jumps. Stand with the balls of your feet on the pegs, knees slightly bent, hips over the foot pegs, and elbows up and out. Keep your chest relaxed rather than stiff and squeeze the bike lightly with your legs.
Ride a straight section in second gear at an easy pace. Hold neutral position for 20 to 30 seconds, then sit, turn around, and repeat. Focus on keeping your head over the handlebar area rather than hanging behind the rear fender.
A common beginner mistake is locking the knees and gripping the handlebars as if the bars are there to hold the rider up. Your legs should support your body. Your hands guide the bike. If your forearms are burning after a few easy passes, relax your grip and put more pressure through your feet.
2. Stand-Sit Transition Drill
Motocross riding requires fast transitions. You may stand through braking bumps, sit briefly to corner, and stand again for acceleration. Riders who move late often feel rushed and unstable at corner entry.
On a straight, ride at low speed and practice standing for five seconds, sitting for five seconds, then standing again. Keep your eyes forward throughout the transition. Do not look down at the seat or pegs.
The key is to move with purpose without jumping around on the bike. When sitting, return to the front portion of the seat rather than sliding all the way back. When standing, rise through your legs and keep your knees close to the shrouds. Repeat until the movement feels quiet and controlled.
3. Braking Position Drill
Hard braking moves weight forward. If you stay too far back, the front tire loses bite and the bike may push or feel vague. If you lean too far forward with straight arms, you can overload the front end and lose the ability to react.
Use a straight, clear section with a defined braking marker. Start at a moderate speed, stand on the pegs, and apply smooth front and rear brake pressure as you approach the marker. Move your hips slightly rearward to resist forward force, keep your elbows up, and bend your knees so the bike can settle beneath you.
Do not pull yourself forward on the handlebars. Your legs should carry most of the braking load. Release the brakes before turning around and repeat several passes, gradually increasing speed only when every stop feels composed.
This is also a good time to notice foot position. Cover the rear brake with your right foot when needed, but return to the peg with the ball of your foot once you are finished braking. Riding with your arch on the peg reduces control and increases the chance of catching a foot in ruts or obstacles.
4. Corner Entry and Seated Turn Drill
For a flat or lightly bermed corner, approach standing, brake in control, then sit forward as you enter the turn. Place weight on the outside peg, keep your upper body centered or slightly forward, and look through the exit. Your inside leg should come forward for balance, with your boot held clear of the ground.
Start with a wide, smooth corner. Make several laps at a calm pace and focus on one thing: getting your eyes to the exit early. Where your head turns, your body and bike tend to follow.
Then work on keeping your outside elbow up. A dropped outside elbow often lets the bike fall inward and makes front-end traction harder to feel. Do not force a deep lean angle at first. A clean, balanced arc is more useful than a dramatic slide.
Adjust the Drill for Ruts and Berms
In a rut, keep your body stable and allow the front wheel to follow the line. Avoid fighting the handlebars with tense arms. In a berm, you can lean the bike more aggressively, but your body still needs to stay forward enough to load the front tire.
The right position depends on the corner shape, traction, and speed. That is why repeated laps on the same turn are valuable. Change one small detail each pass, then feel what the bike tells you.
5. Acceleration Position Drill
Acceleration can pull your body backward and make the front wheel light. The answer is not to hang off the front of the bike. Instead, stand or sit in a balanced position, squeeze the bike with your knees, and hinge slightly forward from the hips as you roll on the throttle.
Choose a straight with good traction. Start seated and accelerate smoothly through the gears. Keep your head forward, arms relaxed, and elbows ready to move. Repeat the drill standing, especially if the ground has small bumps.
If the front end wanders, check whether your weight is too far back or your hands are pulling on the bars. If the rear tire spins excessively, the issue may be body position, but it can also be throttle timing or poor traction. Address one variable at a time.
6. Small Bump and Whoop Drill
Rough sections punish stiff riding. Find small rollers, mild braking bumps, or a controlled rough section. Enter in neutral standing position with your knees and elbows bent. Let the bike rise and fall while your head travels as smoothly as possible.
Think of your legs as suspension assistance. As the bike comes up, let your knees bend. As it drops away, let your legs extend without locking. Keep your eyes beyond the obstacles, not on the bump directly in front of your front wheel.
Do not begin on large whoops. Bigger obstacles demand throttle control, timing, and commitment that should be built with coaching. Small bumps are enough to teach the main lesson: absorb movement with your lower body instead of fighting it with your arms.
7. Slow-Speed Balance Figure Eight
Fast riding gets attention, but slow-speed balance exposes weak fundamentals quickly. Set up two wide turning points in an open area and ride a figure eight around them. Stay smooth on the clutch, use light rear brake control if needed, and keep your head up.
Practice both seated and standing figure eights. Seated turns teach outside-peg pressure and eye direction. Standing turns teach balance over the pegs and help you stop relying on the seat for stability.
If you put a foot down, make the course wider and slow down. The purpose is not to make the tightest possible turn. It is to build control without panic or sudden throttle inputs.
Turn Drills Into Better Riding
Run these drills in short blocks rather than riding laps without a plan. Spend 10 focused minutes on braking position, then move to turns or rough terrain. A phone video from the side can also reveal habits you cannot feel, such as straight arms, hips too far back, or a dropped elbow.
At Dirt Bike Rentals and Training, rider coaching focuses on these real track movements, not just telling someone to stand up or lean forward. Working with an experienced instructor helps you connect body position to what the bike is doing underneath you.
Keep the pace controlled, repeat the same movement until it becomes natural, and add speed only when your position holds together. The rider who looks calm on the bike is usually not guessing. They have practiced the basics until they can use them when the track gets demanding.


Comments